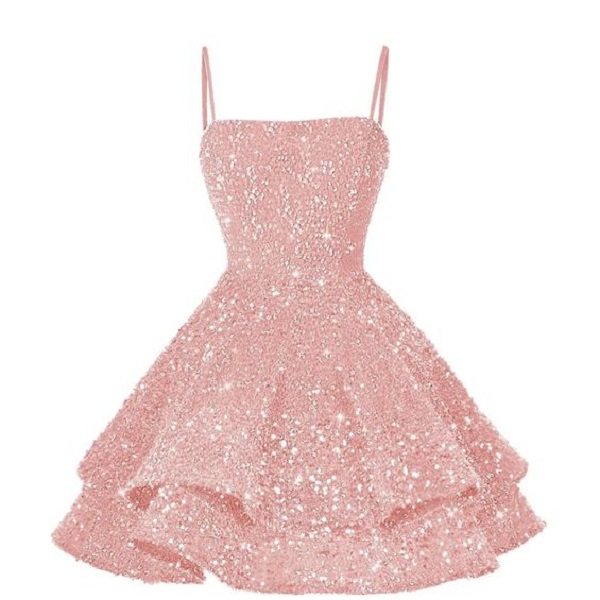
Hemming a sequin dress might seem intimidating, but with the right techniques and tools, you can achieve a professional finish at home. Sequins add sparkle and glam to any outfit, but working with them requires a bit more patience and precision than hemming a regular fabric. Whether you’re altering the dress for a special occasion or simply want to shorten the length, this guide will walk you through the entire process. From preparing your dress to mastering the hem, we’ll cover everything you need to know to hem a sequin dress successfully.
Contents
- 1 Why Hemming a Sequin Dress is Different
- 2 Tools and Materials You’ll Need
- 3 Preparing the Dress for Hemming
- 4 Cutting and Hemming the Dress
- 5 Finishing Touches for a Professional Look
- 6 Common Mistakes to Avoid When Hemming a Sequin Dress
- 7 Tips for Sewing with Sequins
- 8 Hem Your Sequin Dress with Confidence
Why Hemming a Sequin Dress is Different
Unlike other fabrics, sequins present unique challenges when hemming. The intricate beadwork, embellishments, and reflective surfaces can get in the way, and cutting through sequins requires careful handling to avoid damage to the fabric or breaking your sewing machine. Understanding these differences will help you approach the task with the right mindset and tools.
Tools and Materials You’ll Need
Before you start hemming your sequin dress, it’s important to gather the necessary tools and materials. Having the right equipment will make the process smoother and more efficient. Here’s what you’ll need:
- Fabric scissors: Make sure they are sharp enough to cut through sequins.
- Seam ripper: Helpful for removing the original hem.
- Pins or fabric clips: These will help hold the hem in place while you sew.
- Hand sewing needle: Opt for a sturdy needle to handle sequins and thick fabric.
- Sewing machine (optional): Ensure you have the right needle for sewing sequins.
- Thread: Match the color to your dress or use clear thread.
- Measuring tape or ruler: Essential for marking the new hemline.
- Tailor’s chalk or fabric marker: To draw your cutting line.
- Pressing cloth and iron: For finishing touches after hemming.
Preparing the Dress for Hemming
Before you start cutting or sewing, you’ll need to prepare the sequin dress to make sure you achieve an even and professional hem. Here are the steps to follow:
1. Measure and Mark the New Hemline
Start by trying on the dress to determine how much length you need to remove. Stand straight and have someone else measure from the floor up to your desired hemline. Use tailor’s chalk or a fabric marker to make a light mark around the dress where you plan to hem. It’s important to make sure the hemline is even all the way around.
2. Remove Sequins from the Hemline Area
One of the key challenges of hemming a sequin dress is dealing with the embellishments around the hem. Before you cut, use a seam ripper to remove the sequins that fall along the marked hemline. This will prevent the sequins from getting in the way while sewing, and it will reduce bulk around the hem.
Removing sequins also helps protect your sewing machine needle if you plan to use one. Be careful to keep the thread that secures the sequins intact as you remove them. You can later sew them back on if needed, or save the loose sequins for future projects.
3. Secure the Hem with Pins or Clips
Once you’ve removed the sequins from the hemline area, fold the fabric up to create the hem. Use pins or fabric clips to hold the hem in place. For thicker fabrics or delicate materials, clips might be better than pins, as they don’t puncture the fabric or leave marks.
Make sure to double-check that the hem is even by measuring the fold from the bottom of the dress to the fold line. This will ensure a neat finish.
Cutting and Hemming the Dress
After preparation, it’s time to get down to the actual hemming. Follow these steps to make sure your hem is perfect:
1. Trim the Excess Fabric
Using sharp fabric scissors, carefully cut off the excess fabric along the marked hemline. Make sure to cut slowly and evenly to avoid jagged edges. If the fabric is delicate or the sequins are thick, take extra care not to accidentally tear or pull on the dress.

2. Sew the Hem by Hand or Machine
Once the fabric is trimmed, you have two options for sewing the hem: hand sewing or using a sewing machine. Each method has its pros and cons, so choose the one that works best for you.
- Hand sewing: If you’re working with delicate sequins or intricate designs, hand sewing might be the safer option. Use a sturdy needle and thread that matches your dress. Sew small, even stitches along the hemline, making sure to keep the thread tight but not too tight to avoid puckering the fabric.
- Sewing machine: If you’re more confident with a machine, make sure to use the right needle for sequins or thicker fabrics. A longer stitch length works better for this kind of fabric. Sew slowly to ensure the machine needle doesn’t break on any leftover sequins or thick areas. Backstitch at the beginning and end to secure the hem.
3. Reattach or Replace Sequins
After you’ve finished sewing the hem, check to see if any areas look sparse or unfinished due to removing sequins. You can reattach the sequins you removed earlier using a hand needle and thread. Sew each one individually, spacing them evenly around the hem for a uniform look.
Alternatively, if some sequins were damaged during the hemming process, replace them with new sequins that match the dress. Most fabric stores sell replacement sequins in a variety of colors and sizes, so it shouldn’t be difficult to find a close match.
Finishing Touches for a Professional Look
Now that the dress is hemmed, it’s time to add the final touches to give it a polished, professional look.
1. Press the Hem
Using a pressing cloth and a low-heat iron, carefully press the hem to smooth out any wrinkles or creases. Be sure to use the pressing cloth to protect the sequins from direct heat, as they can melt or become damaged if exposed to high temperatures. Pressing the hem ensures that the fold stays sharp and gives the dress a clean finish.
2. Inspect the Hem for Loose Threads or Imperfections
Before you consider the project complete, inspect the hem to make sure there are no loose threads, uneven stitches, or other imperfections. Trim any loose threads with small scissors, and check that the hemline is even all the way around the dress.
Common Mistakes to Avoid When Hemming a Sequin Dress
Hemming a sequin dress can be tricky, especially for beginners. Here are a few common mistakes to avoid:

- Not removing sequins before hemming: Sewing directly over sequins can break your needle or cause uneven stitches. Always remove the sequins first before hemming.
- Using the wrong needle or thread: A heavy-duty needle and matching thread are essential for sewing through thick fabric or sequins. Using a regular needle or thin thread could cause breakage or weak stitches.
- Cutting too much fabric: It’s better to trim small amounts of fabric at a time rather than cutting off too much in one go. You can always trim more, but you can’t add fabric back once it’s been cut.
- Skipping the pressing step: Pressing the hem is essential for a professional finish. Skipping this step can leave the hem looking wrinkled or uneven.
Tips for Sewing with Sequins
If you’re new to working with sequins, here are a few helpful tips to make the process easier:
- Use a larger stitch length: When sewing through sequins, a longer stitch length can help the needle glide through the fabric more easily, reducing the chance of breaking needles.
- Sew slowly: Take your time when hemming a sequin dress. Sewing too quickly can result in mistakes, broken needles, or uneven stitches.
- Work in a well-lit area: Sequins can reflect light and make it difficult to see your stitches, so make sure to work in a well-lit space for better precision.
Hem Your Sequin Dress with Confidence
Hemming a sequin dress may seem daunting at first, but with the right tools and techniques, you can achieve a flawless hem from the comfort of your home. By carefully preparing your dress, sewing with precision, and adding the finishing touches, you can ensure that your sequin dress looks professionally altered and ready for any special occasion.