Creating your own wedding dress can be an incredibly rewarding experience. Not only do you get to showcase your creativity, but you also have the chance to design a unique gown that embodies your personal style. The process, however, can feel overwhelming for many, especially if you’re unsure where to begin. This guide aims to break down the steps in detail, from concept to completion. By following these steps, you can confidently navigate the intricacies of dressmaking while ensuring that your wedding dress is a flawless reflection of your vision.
Making a wedding dress involves multiple stages, including design selection, fabric choice, pattern drafting, sewing, and final fittings. Each stage requires attention to detail, patience, and a bit of crafting skill. However, with determination and guidance, you can achieve the look you desire. This comprehensive article will delve into the nuances of how to make a wedding dress, addressing the essential components necessary for crafting the gown of your dreams.

Contents
Understanding the Basics of Wedding Dress Design
Before diving into the actual creation of a wedding dress, it’s essential to understand the fundamental elements involved in the design process. This foundational knowledge will guide you as you make decisions.
Different Styles of Wedding Dresses
Wedding dresses come in a variety of styles and silhouettes, allowing each bride to express personal preferences. Some popular styles include:
- A-Line: This silhouette is fitted at the hips and flows out to the ground, resembling the shape of a capital letter “A.” It flatters various body types and is often seen as a classic choice.
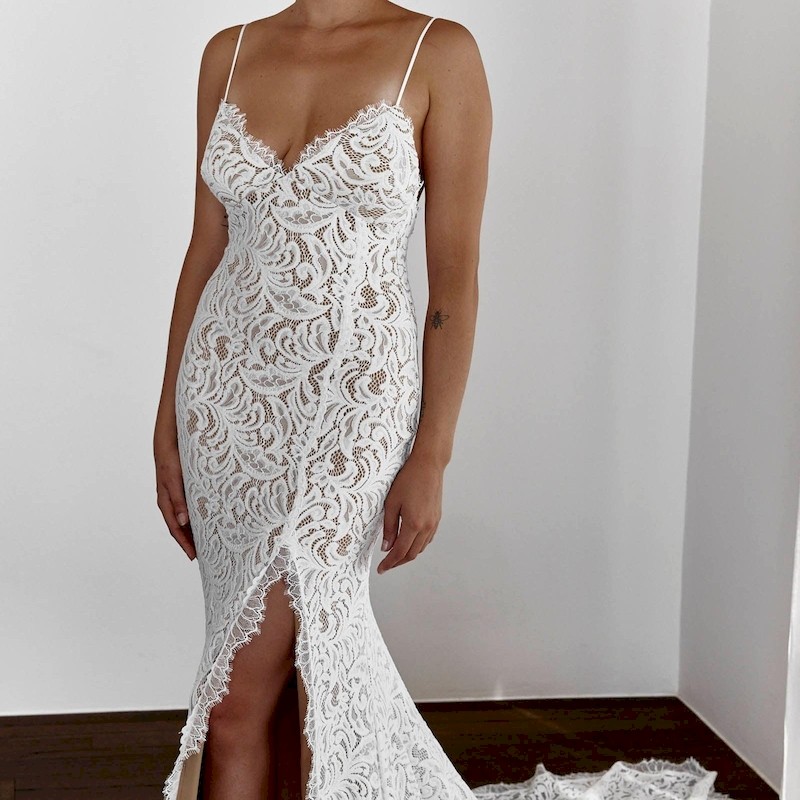
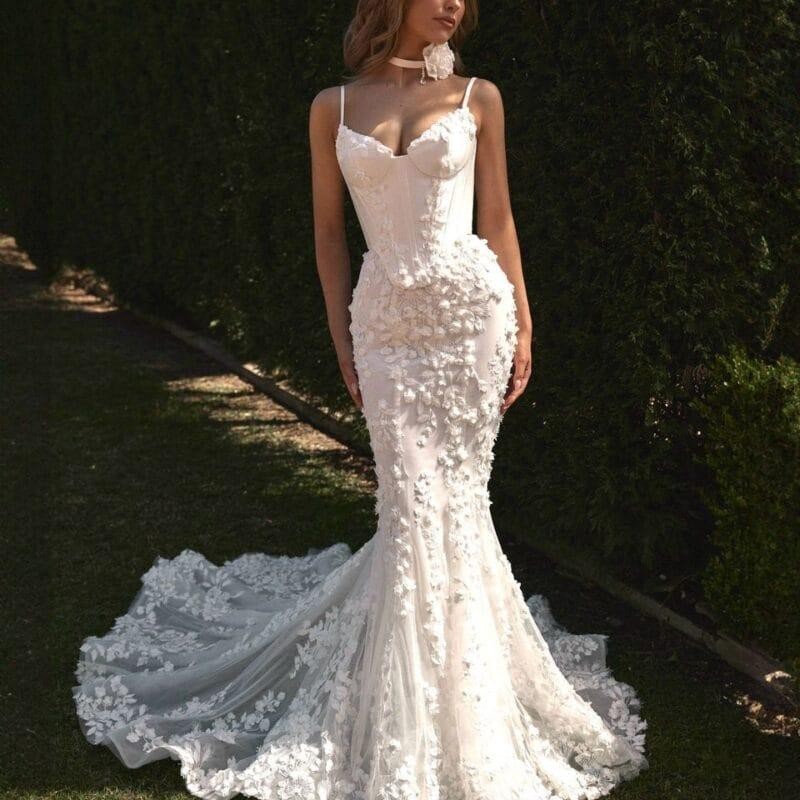
- Mermaid: The mermaid style hugs the body and flares out at or below the knees, creating a dramatic effect. This style is perfect for brides seeking a more form-fitting option.
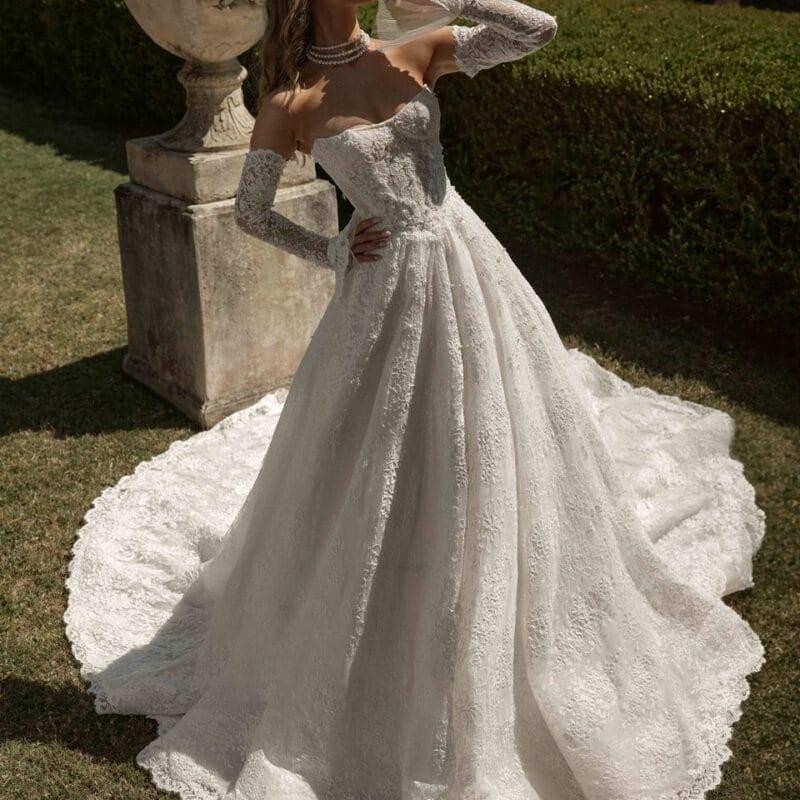
- Ball Gown: The ball gown features a fitted bodice and a full, voluminous skirt. This timeless style evokes a sense of royalty and offers a fairytale-like appeal.
- Column/Sheath: A column dress follows the body’s natural shape and usually falls straight to the ground. This minimalist design can be ideal for modern brides.
Understanding the various styles helps you think about which one suits your personality, preferences, and body type best.
Fabric Choice
Fabric significantly impacts the overall look and feel of the dress. Common fabric choices include silk, satin, lace, taffeta, and chiffon. When selecting a fabric, consider factors such as:
- Drape: The way the fabric falls and moves will change the appearance of the dress. Some fabrics will create volume, while others drape more fluidly.
- Texture: Texture influences the visual appeal and comfort level of the gown. For example, lace can add intricacy, while silk provides a smooth finish.
- Weight: Lighter fabrics are more suitable for summer weddings, while heavier materials can offer warmth for winter ceremonies.
Choosing the right fabric is critical, as it sets the tone for your entire design.
Planning Your Wedding Dress
A successful project begins with thoughtful planning. By creating a detailed plan, you can stay organized and focused throughout the design and making process.
Inspiration and Sketching
Start gathering inspiration from wedding magazines, social media platforms like Pinterest, and bridal boutiques. Aim to identify elements that resonate with you, such as colors, styles, and details. As you collect images, begin sketching your ideas. Your sketches will serve as a visual guide during the creation process, making it easier to communicate your vision.
Creating a Mood Board
To help solidify your design aesthetic, consider creating a mood board. This board can consist of fabric swatches, color palettes, sketch images, and embellishments you want to include. Having a visual representation of your ideas will keep you inspired and signal how different elements will come together to craft the finished gown.
Setting a Timeline
Constructing a wedding dress requires time and effort, especially when sewing techniques are involved. Establishing a timeline will facilitate a structured approach to completing your dress. Begin with the date of your wedding, and work backward to set deadlines for each project phase:
- Fabric Purchasing: Allow time for fabric swatches and selection.
- Pattern Drafting: Determine how long it will take to measure and draft your pattern.
- Construction: Outline how many days or weeks you want to dedicate to sewing.
- Fittings and Adjustments: Schedule fittings to ensure the gown fits perfectly.
Having a timeline in place allows you to manage your time effectively while reducing stress as the wedding day approaches.
Tools and Materials Needed
To create your wedding dress, gather a comprehensive list of essential tools and materials. This organization will simplify the sewing process and enable you to stay focused on your work.
Essential Sewing Tools
- Sewing Machine: A reliable sewing machine will be a fundamental tool for your dressmaking project. Make sure it can handle the weight of the fabric you select.
- Sewing Needles: Choose needles suitable for your fabric type. For example, use ballpoint needles for knits and sharp needles for woven fabrics.
- Measuring Tape: Accurate measurements are crucial, so invest in a good-quality measuring tape.
- Fabric Scissors: High-quality fabric scissors will make cutting fabric precise and easy.
- Pins and Clips: Use pins to secure fabric pieces while sewing. Fabric clips work well for holding thicker materials.
Materials Required
- Fabric: As previously discussed, choose your fabric based on your design preferences.
- Thread: Choose a thread color that matches your fabric. Opt for a high-quality thread that will withstand wear.
- Interfacing: If your design includes structured areas (like a bodice), using interfacing can provide stability and shape.
- Pattern Paper: Use pattern paper for drafting your dress design. You can also buy commercial patterns that simplify the process.
- Chalk or Fabric Marking Pens: Marking tools help outline design features, seam lines, and cutting points accurately.

Optional Additions
- Embroidery Supplies: If you’re planning to add embellishments, gather embroidery supplies, such as beads or sequins.
- Ruler or Protractor: A ruler or protractor can aid in creating precise lines or angles in your pattern.
- Iron and Ironing Board: Pressing seams and fabric helps maintain accuracy and achieve a polished final look.
Drafting Your Pattern
One crucial step in how to make a wedding dress is drafting the right pattern. With a well-crafted pattern, you can visualize how the various elements will come together.
Measurements
Taking accurate measurements is essential. Consider measuring the following areas:
- Bust: Measure around the fullest part of your bust.
- Waist: Find the narrowest part of your waist.
- Hips: Measure around the fullest part of your hips.
- Length: Measure from the top of your shoulder to the desired length of the skirt.
Write down all measurements to ensure accuracy during the drafting process.
Drafting Your Own Pattern
If you’re feeling adventurous and want a customized dress, consider drafting your own pattern. Here’s how:
- Choose a Base Pattern: Select a block pattern that matches your desired silhouette. For instance, if you want an A-line dress, start with an A-line block.
- Adjust Your Measurements: Use your measurements to alter the block pattern. This adjustment may include changing seam allowances or modifying the bodice fitting.
- Add Design Elements: Incorporate elements such as pleats, darts, or a neckline of your choice. This customization will help create the unique dress you envision.
- Make a Muslin Mock-Up: Consider creating a mock-up version of your dress using muslin fabric. This step allows you to test the fit and design before working with your final fabric.
Using Commercial Patterns
If drafting your own pattern proves challenging, don’t worry. Numerous commercial patterns are available for purchase. When selecting a pattern, consider these factors:
- Read Reviews: Check reviews to understand how easy or difficult other sewists found the pattern.
- Choose the Right Size: Most patterns come in multiple sizes. Make sure to choose a size that aligns with your measurements.
- Study the Instructions: Familiarize yourself with the pattern instructions before starting. This preparation will help you feel more comfortable during the final construction.
Constructing the Wedding Dress
Once you have your pattern ready and the materials gathered, it’s time to begin constructing your wedding dress. Follow these steps for a successful sewing project.
Preparing Your Fabric
Preparing your fabric is essential for successful sewing. Here’s how to get started:
- Pre-Wash: If your fabric requires washing, pre-wash it to prevent shrinking after assembly.
- Iron: Ensure any wrinkles are removed before cutting. An iron helps to create smooth edges and accurate measurements.
- Lay Out the Pattern: Pin or lay your pattern pieces on the fabric according to the layout plan. Ensure the pattern aligns with the grainline for best results.
Cutting Your Fabric
Carefully cut out your fabric pieces using sharp fabric scissors. Follow these tips for precision:
- Take Your Time: Cutting accurately is important; this step can affect the final fit and look of the dress.
- Marking the Fabric: Use fabric chalk or marking pens to outline any darts, pleats, or other design elements on the fabric.
Sewing the Dress
Once you complete cutting the pieces, it’s time to sew!
- Start with the Bodice: Begin by sewing the bodice pieces together, following the pattern instructions. Use a straight stitch for durable seams.
- Construct the Skirt: Once the bodice is complete, move on to the skirt. Gather or pleat the fabric as required by your design.
- Join Bodice and Skirt: After completing both sections, attach the bodice to the skirt. Ensure that the seams line up correctly and press during assembly.
- Add Zippers or Closures: If your design requires zippers or hooks, now is the time to attach them. Refer to the pattern instructions for guidance.
- Finish Edges: Use a serger or zigzag stitch to finish the raw edges of the fabric to prevent fraying.
Fitting and Adjustments
After assembling the dress, fittings are key to ensuring it fits well.
- Try It On: Put on the dress and assess the fit. Check for any tight areas or bulges.
- Make Necessary Adjustments: Based on your fitting, make the required adjustments. This might include letting out seams, taking in areas, or adjusting the length.
- Get a Second Opinion: If possible, ask a friend or family member for feedback. A fresh perspective can reveal issues you might have missed.
Adding the Final Touches
Once you finish the major construction, it’s time to focus on the final details that will elevate your wedding dress.
Embellishments
Consider adding embellishments to enhance the visual appeal of your dress:
- Lace: Sew lace accents on the skirt or bodice for a delicate touch.
- Beading: Hand-sew beads or other embellishments to create a luxurious look.
- Ribbons or Sashes: Add a ribbon or sash at the waist to define the silhouette and incorporate an additional color.
Hemming the Skirt
Hemming is essential for achieving a polished appearance:
- Determine the Desired Length: Try on the dress with the shoes you plan to wear at the wedding. Mark the hemline accordingly.
- Pin and Cut: Pin the hemline in place, and cut the excess fabric if necessary.
- Hand Sew or Machine Sew: Choose your preferred method for hemming. Hand stitching can provide a delicate look, while machine sewing offers durability.
Final Ironing
Once everything is in place, a final ironing session will ensure that your dress looks perfect on your big day. Use a steam iron to remove any remaining wrinkles and press seams.
Caring for Your Wedding Dress
After working diligently to create your wedding dress, proper care ensures its preservation for the future.
Cleaning
Cleaning your dress after the wedding can prevent any stains from setting:
- Professional Cleaning: Consider taking the dress to a professional cleaner who specializes in wedding attire. They can provide the most effective cleaning methods and preservation techniques.
- Spot Cleaning: If you need to address minor stains, use a gentle spot cleaner suitable for the fabric. Always test in an inconspicuous area first.
Storing
When storing your dress, choose a cool, dry place away from light:
- Use a Garment Bag: Place your dress in a breathable garment bag to protect it from dust and light exposure.
- Avoid Hanging on Hangers: For delicate fabrics, avoid using hangers that could distort the shape. Instead, lay the dress flat in a storage box.
- Include Acid-Free Tissue Paper: If you must fold the dress, use acid-free tissue paper to cushion the folds, preventing creases.
Reflection and Legacy
Many brides choose to preserve their wedding dresses as cherished memories. Consider taking professional photographs to capture the details. Alternatively, involve family traditions by passing down the dress or creating keepsakes from it.

Conclusion
In conclusion, learning how to make a wedding dress can be a beautifully enriching experience. From understanding the historical significance and cultural background of dresses to the hands-on techniques used in pattern drafting and sewing, each step plays a vital role in achieving your vision. This guide has outlined all the essential components, from design selection and fabric choice to the intricate sewing process and final touches.
Creating a wedding dress involves patience, creativity, and dedication, but the reward is immense. Whether you choose a classic A-line silhouette, a modern fit-and-flare style, or a bohemian design, you can imbue your gown with personal meaning and style. The insights and steps provided in this article should empower you to embark on this exciting journey confidently.
Ultimately, your wedding dress represents a significant moment in your life. By taking the time to craft it yourself, you not only create a special garment but also an unforgettable memory tied to your special day.